Author Archives: dungvl


If you are a 500 lb person, in most cases, you experience bicycle breakings. You have to replace the bicycle due to small saddles and bent spokes or you end up buying a new bicycle over and over without getting one that serves you for the long run.
Over the few years, bicycle manufacturers have worked on this issue while putting into consideration your weight and comfort while still maintaining speed and durability. Below is a guide on the best type of bicycle to consider before purchasing, among other factors.
| Preview | Product | Price | |
|---|---|---|---|
|
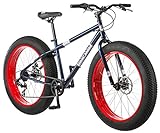
Mongoose Dolomite Mens Fat Tire Mountain Bike, 26-inch Wheels, 4-Inch Wide Knobby Tires, 7-Speed,... | $499.19 | Buy on Amazon |
What to look out for when getting the best bicycle for 500 lb person

The bike weight limit solely relies on the type of bike and both the intended and non-intended purpose. For proportionality, specialists determine the weight and size of a rider and the maximum load capacity of bikes before computing it against the strength of materials used to make it. It’s clear now that road bikes are different from mountain bikes structural wise and how they function.
Putting together the structural weight limit, the rider’s weight, cargo/luggage weight and the recommended maximum weight per the braking standards build up the bike weight limit.
Choose a bike made of durable and robust material such as steel alloy that can withstand heavyweights. For additional weight, customize your bike by adding a carbon fiber frame. A combination of both materials brings out a lightweight but strong and durable alloy.
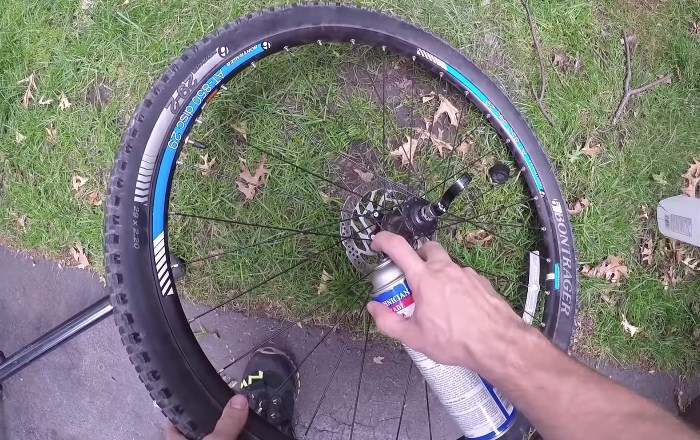
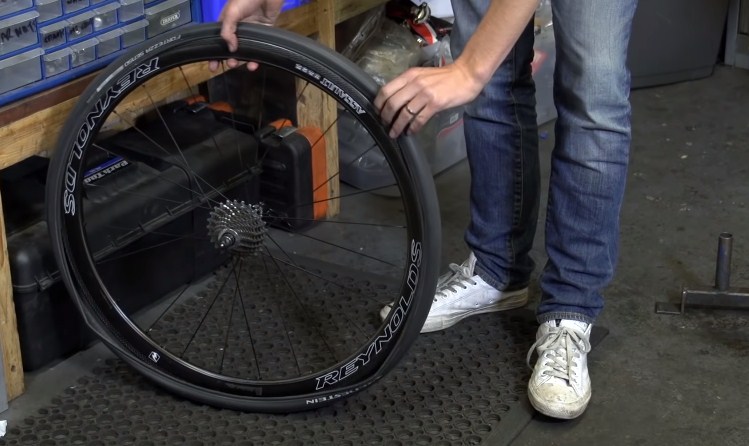
Bike wheels
The wheels entirely support your weight. The strength of wheels goes a long way in ensuring the bike suits you. For a smoother ride, the wheel’s scale should be proportional to the frame. Shorter wheels are always more durable is a basic engineering fact.
Consider the wheel diameter, spokes and spoke patterns and how they are connected. Go for bicycles build with thicker single-rim walls and with increased spoke count for increased durability. The rim width should be tough and wide to increase friction between the ground and the wheels. Always opt for a 26-inch wheel instead of 29-inches.
The fat bikes have proven strong enough to cater to the tire bursting issue in recent years. They are designed to have highly durable wheels that are mostly single-rimed.
Their frames are strong enough for grips and their structural design highly suits their most sought audience. They can go on level ground or the wild mountain terrain depending on the type of bicycle you choose.
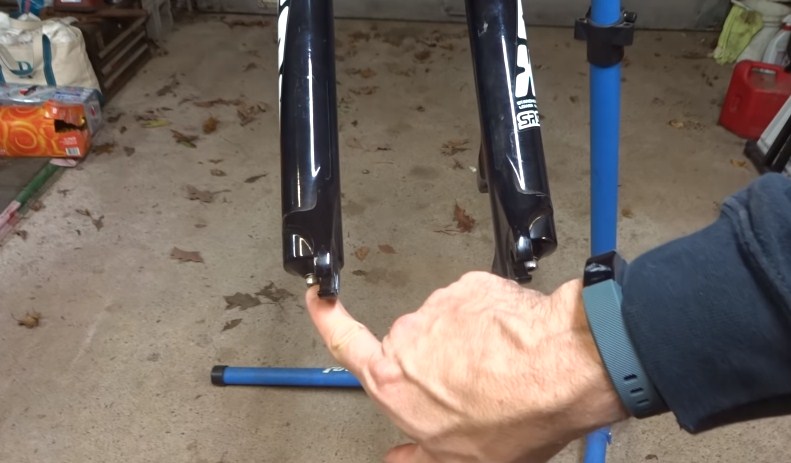
Bicycle frame
You may end up buckling the moment you get on board. To avoid snapping, the bicycle frame should be either of steel or aluminum, that toughen it. Those made from aluminum should have a larger and thicker diameter wall than those made from steel since they are weaker.
Frames come in different shapes. Your weight is equally distributed to the front and back wheels by the A-frame and diamond-shaped frame.
It keeps you safe from tipping backwards and going over heels due to too much weight on the front wheel. They also act as shock absorbers when extra force is applied by slightly bending and flexing.
Top 5 best bicycle for 500 lb person
#1. Schwinn Phocus 1600 Men’s Road Bike

Made with style, the Schwinn Phocus is a pleasing sight to many and it gives a traditional ride one that you will live to remember. It has a wide gear range that enables it to be powered by an alloy crank, making it move swiftly on level ground as well as uphill.
The frame is made from an aluminum rod combined with carbon fiber fork forming a strong alloy that can withstand your weight and is super durable. The spokes are Strong due to the way they are paired that makes them act with full reinforcement. Furthermore, they are nicely paired so don’t be surprised when everyone stares at your bike as you enjoy the ride.
Pros
- Highly durable and lightweight – an effect of combining aluminum and carbon fiber.
- A micro shift integrated 16-speed derailleur that enables quick gear changes.
- High profile alloy wall rims, when combined with paired spokes, withstand bulk.
Cons
- It takes a while to adjust to the use of the classic style drop bars.
#2. Mongoose Dolomite 26” Men’s Fat Tire Bike

Engineered for your weight, the Mongoose Dolomite bicycle comes with your comfort in mind. Bikers adored it due to its ability to be used for exercising without you worrying about getting general body aches. You get to enjoy the thrilling adventurous ride around town at the comfort of your bike. It’s designed for use by men.
The bike is equipped with knobby tires that can go through mountain and thicket terrains. It has 4-inch wide wheel disk brakes to withstand pressure from the action of breaking and force applied by your weight.
It has a frame that is sturdy and is made from steel that can hold your weight effectively for a longer time. The beach cruiser pedals are made using three pieces of crank, making it standard and easily maneuvered with even when riding on a steep slope.
Pros
- A large beach cruiser frame perfect for your weight.
- Super-sized tires that go over potholes easily.
- Rear and front disk brakes which is improved and more efficient technology.
Cons
- Inflating the huge tires requires electric power or a bigger mechanical pump.
#3. Framed Minnesota 2.0 Fat Bike

It stands out from the rest by its exceptionally modeled wheels. They are made from single-walled aluminum alloy rims that are 80 mm wide. This enables them to withstand your weight without bursting out and causing injuries.
Made from aluminum, the frame has an overall good quality evident from the welding techniques used. Even after the company made some cutouts in the rims, the strength of the wheels isn’t compromised and it still has an appealing look. It’s great for off-road riding and will suit you whenever the need to exercise and keep fit arises.
Pros
- The tires are good looking and are strong enough to withstand your weight.
- Huge 80 mm wide wheels that are single-walled with aluminum rims.
Cons
- It’s a bit costly but worth it if your budget allows you to buy it.
#4. DJ 750W 48V 13Ah Fat Bike

This electrically powered bike is a great solution to exhaustion after long hours of strenuous cycling. This makes them be highly sought for but it’s disappointing that they are close to non-existing. This is because they are made from expensive materials with high precision. This is the only available type of eBike for you out there.
Powered by a 13Ah battery, it can accelerate to longer distances without your weight being of any hindrance. It can go through wild terrains, especially roads that are steep and across mountain thickets.
The thick Kenda tires are supported by heavy-duty rims enabling the support of your weight. It has great appeal to detail owing to its height and comfortable cushion saddle that will make you dream of cycling daily.
Pros
- Ensures constant riding when you are exhausted once it’s fully charged.
- A powerful lithium battery that can be dismounted and has a standard key lock.
- A 750W brushless Bafang motor.
Cons
- Requires electrical charging for it to automatically power itself once you are exhausted.
#5. BEIOU Carbon Fiber 27.5 Mountain Bike

The bicycle is best suited for occasional cyclers. It combines most of the other bikes’ features to suit your comfort and cycling preferences. To top it up, it’s pocket friendly compared to its counterparts.
It’s has a lightweight of only 23 lb that enables you to carry it anywhere you want. This doesn’t mean it can’t withstand 500 lb weight. It’s made from carbon fiber, making it strong and highly durable.
You might think you are competing on a standard road bike because it’s as easy as ABC to ride it as it has a gear combination of 30 speeds. The disk brakes are hidden within. And together with the tail wraps produces a professional outlook for you.
Pros
- Very affordable and highly durable despite being made from the weightless carbon fiber.
- Presence of a 30-gear option that enhances its speed across an array of terrains.
- A hardtail design suitable for one who wants to venture into the professional world.
Cons
- For maximum comfort and luxury, you need to replace the saddle.
Why 500 lb persons need a different type of bicycle
It’s so depressing to keep on buying a bike now and then because they keep on breaking. That’s the sad truth of what people weighing 500 lb experience from time to time.
Standard bicycles can’t withstand their weight and this made bicycle manufacturers go a notch higher to design special and suitable bikes for them. Every bike has a standard weight that, when exceeded, leads to breakage. To avoid such chaos, one needs to check the weight limit of the bicycle before purchase.
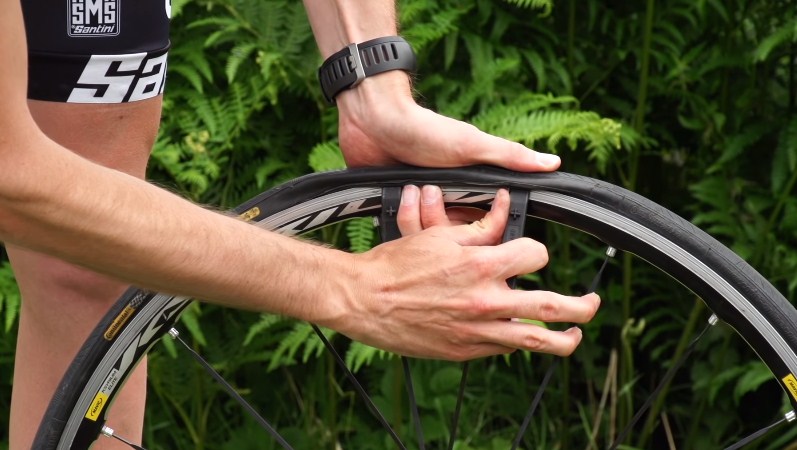
Tire bursts are a common problem whenever you get on to a standard bicycle. This occurs due to the excessive weight applied to the wheels, which are not strong enough to withstand it. If they get lucky enough not to burst, then they tend to lose grip with the road.
They need to be comfortable as well when riding. The saddles should be made from soft material and should be of the right thickness. It should have precise dimensions to avoid frequent stops when cycling due to fatigue.
It should be adjusted just to the right height to avoid bending too much. This ensures a smooth and fun ride, one that encourages you to get back on your feet the next day and hop onto it again.
What may happen if you choose the wrong bike size?
Tire bursts may occur that lead to massive injuries of the head, face, spine and teeth breaking as well. This may result in concussion caused by severe damages to the head. When this occurs frequently, you may end up getting migraines.
You are at a higher risk of crashing when you ride an under-sized bicycle. Having control of the bike is very crucial and you achieve this by a suitable size.
You’ll experience back pain whenever your posture isn’t right. Getting the right framed bicycle ensures this doesn’t happen. Adjusting the handlebar or seat post won’t compensate for the frame.
To avoid getting fatigued, always ensure pedal efficiency. You get the proper stance and leg positioning needed to get the best out of every pedal once you are on the right bicycle. You risk getting wrist pain if the bike is too small as you will struggle to maintain grip with the handles to achieve stability.
The bottom line
Cycling is a very engaging activity that can be practiced up to a professional level by anyone with the right bicycle and it engages most of the body muscles. It’s the most comfortable and most enjoyable way to lose weight. You aren’t left out if you weigh 500 lb or more, as there are a variety of options to pick from. All you need to do is select a bike that suits your needs – whether it is for racing, adventure or cycling that’s just for fun.
Be the picky type and do a background check on features of various bicycles before settling down for what’s best. Consider the maximum weight that it can withstand, the type of wheels and how durable they are – not forgetting the bicycle frame, which is a very crucial element.